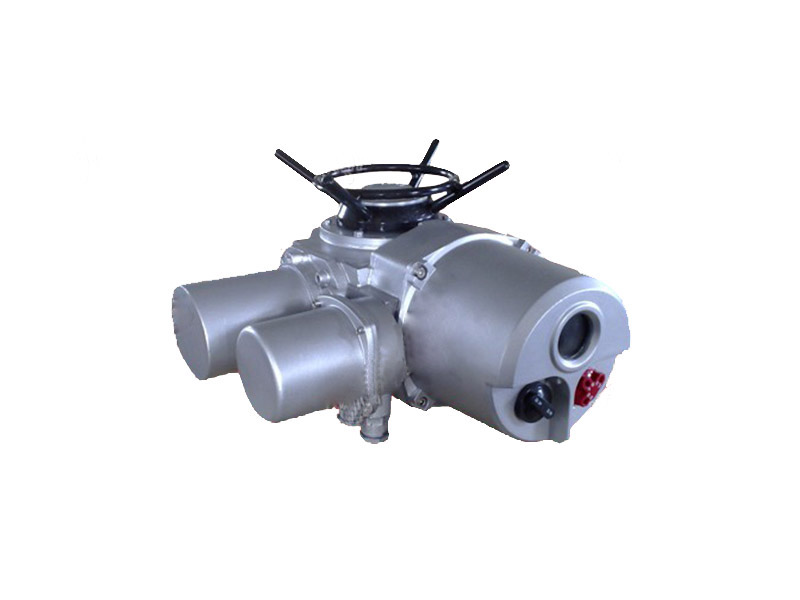
Pneumatic actuators have the characteristics of simple design and compact structure, and the production of pneumatic actuator series products up to 15 varieties and specifications, and can be customized according to user needs, with various additional functional configurations to meet the control requirements in the production process . Of course, if you want to make better use of the pneumatic actuator, the adjustment of its stroke is very important. Then, how to adjust it? The following is an introduction for everyone.
Pneumatic actuators are affordable
Pneumatic actuator stroke debugging method:
1. Adjust the zero position first, and give a 4mADC signal to the positioner so that the pressure gauge on the positioner is within the range of 0.004MPa (not exceeding 0.004MPa);
2. Look at the full scale again, give the positioner a 20 mADC signal, make the pressure gauge on the positioner 0.2MPa , if the pressure is less than 0.2MP, adjust the range knob and turn it counterclockwise to increase the range. If the meter exceeds 0.2MPa, turn the knob clockwise to reduce the range.
3. Repeat steps 1 and 2 to make the stroke of the positioner conform to the stroke of the valve. The stroke length of 5 points and 4 segments of 4mADC, 12mADC, 16mADC , 20mADC should be average.
Of course, in addition to adjusting the stroke, the valve position adjustment must be done well. The following is the valve position adjustment method of the pneumatic actuator:
Given a 4mA command signal, press and hold the setting button, and wait for the module indicator to light up and flash, which means it enters the debugging state. Observe the reading of the ammeter, it should be 4mA. If there is any deviation, press the "+, -" key to adjust to make it meet the requirements. Then press the setting key to confirm, the ammeter reading should be 8mA at this time, if not, you can press the "+, -" key to adjust, and then give an 8mA command signal. By analogy, adjust 8mA, 12mA, 16mA, and 20mA respectively. After the 20mA is adjusted, the indicator will flash a few times, indicating that the debugging is complete.


 customer service1
  customer service2